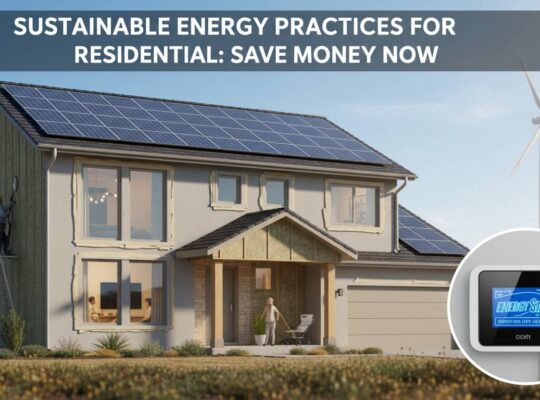
Installing solar panels on your home is a significant decision that can reduce your electricity bills, increase your property value, and contribute to environmental sustainability. Understanding the complete solar installation process helps you prepare for what lies ahead and ensures a smooth transition to renewable energy. This guide walks you through every phase of residential solar installation, from initial consultation to flipping the switch on your new system.
Understanding How Solar Installation Works
The solar installation process transforms your roof into a power-generating asset through a systematic series of steps that typically span several weeks from contract signing to system activation. Modern residential solar systems consist of photovoltaic panels that convert sunlight into electricity, an inverter that transforms direct current (DC) into usable alternating current (AC), mounting hardware that secures panels to your roof, and a monitoring system that tracks energy production. Most residential installations use grid-tied systems that remain connected to your utility company, allowing you to draw power when your panels produce less than your needs and send excess power back to the grid.
The average residential solar system in the United States ranges from 6 to 8 kilowatts, though system sizes vary based on your energy consumption, roof space, and budget. A properly sized system typically meets 80-100% of your electricity needs, depending on your local climate and sun exposure. The entire installation process, from signing your contract to receiving permission to operate, generally takes 4 to 8 weeks, with the actual physical installation usually completing within 1 to 3 days for most homes.
Pre-Installation: Site Assessment and Planning
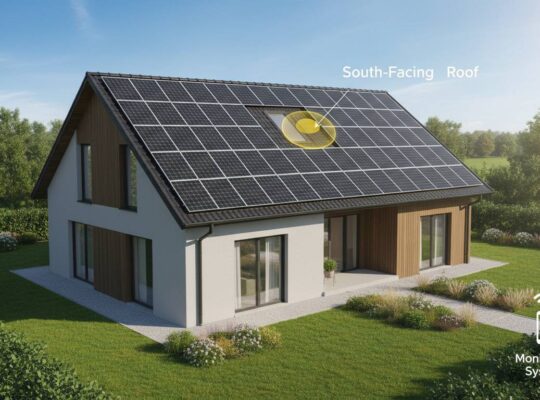
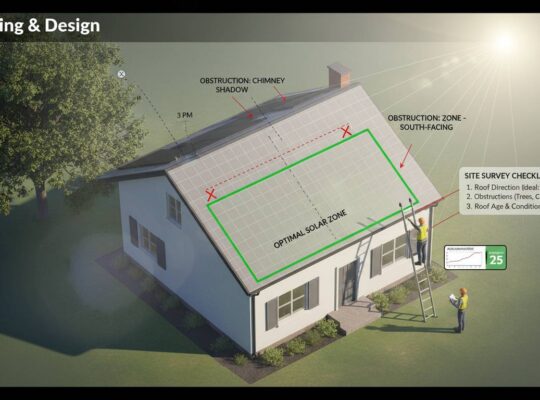
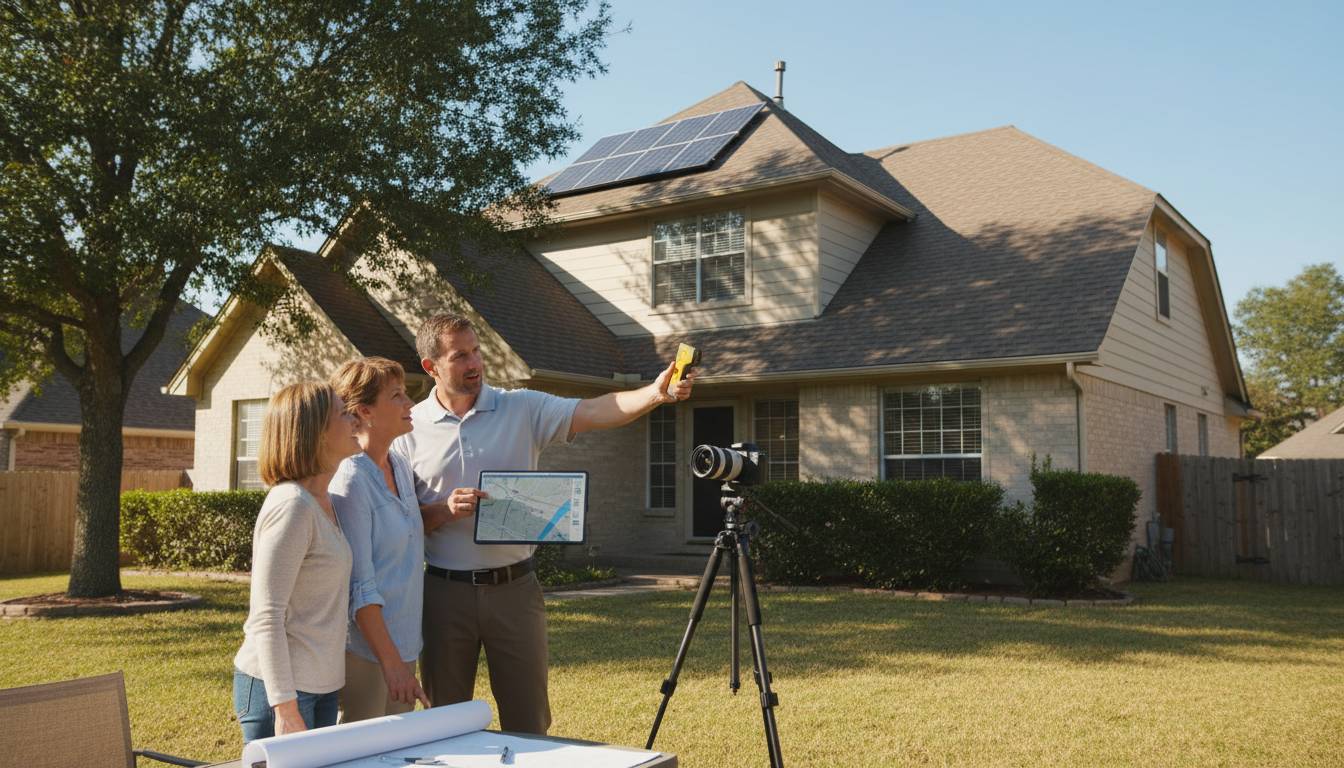
Before any panels touch your roof, your chosen solar company conducts a comprehensive site assessment to evaluate your property’s solar potential. This evaluation examines your roof’s orientation, pitch, and structural integrity, along with shading from trees, buildings, or other obstacles that could reduce panel efficiency. Solar professionals use specialized software to analyze satellite imagery and determine optimal panel placement, generating accurate production estimates based on your location and typical weather patterns.
During this phase, you’ll work with your installer to select the right system components for your needs and budget. The selection process involves choosing between different panel efficiencies, inverter types (string inverters versus microinverters), and mounting options. Your installer should explain the pros and cons of each option, including warranty coverage, expected lifespan, and performance guarantees. Most reputable installers offer 25-year panel warranties and 10-25-year inverter warranties, providing long-term protection for your investment.
Obtaining necessary permits represents a critical preliminary step that your installation company typically handles on your behalf. Local building departments require electrical and structural permits for solar installations, and utility companies require interconnection agreements before connecting your system to the grid. Permit approval times vary significantly by jurisdiction, ranging from two weeks to over a month depending on local workload and complexity. Your installer should provide a realistic timeline and keep you informed throughout the permit acquisition process.
The Installation Day: What to Expect
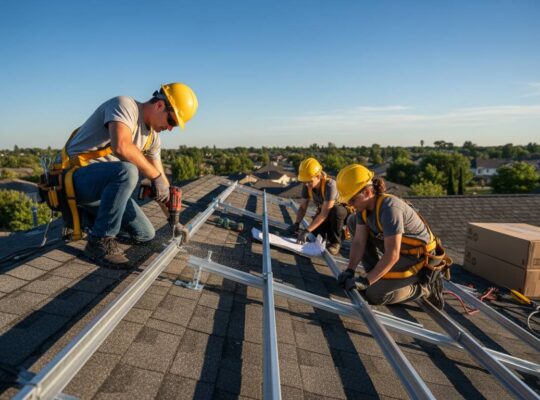
On installation day, the crew arrives with all necessary equipment, including panels, inverters, mounting hardware, and electrical components. The process begins with preparing your roof by cleaning the installation area and making any necessary structural repairs. Crews then install mounting rails that create the foundation for your panel array, ensuring proper alignment and waterproofing penetration points to prevent leaks.
After mounting rails are secure, installers connect the wiring that will carry electricity from your panels to your inverter location, typically in a garage or basement. The inverter itself gets installed next, along with the disconnect switches required by electrical codes. These safety devices allow you to quickly shut off power to your solar system during emergencies or maintenance. The entire electrical work requires careful attention to code compliance and is performed by licensed electricians who are part of the installation crew.
Panel installation follows once all mounting and electrical work is complete. Crews carefully place each panel on the mounting rails, securing them with manufacturer-specified fasteners designed to withstand wind, rain, and temperature fluctuations. Modern residential panels typically feature tempered glass construction that resists hail damage and can withstand significant weather exposure. After all panels are mounted and connected, the system undergoes preliminary testing to verify proper operation before the installation crew departs.
Post-Installation: Inspections and Approval
Following physical installation, your system requires inspection and approval before you can legally operate it and receive credit for excess electricity. A city or county building inspector visits your property to verify that the installation meets all electrical and structural codes, checking wiring connections, grounding, mounting integrity, and compliance with permit specifications. Most jurisdictions require both electrical and structural inspections, and any deficiencies must be corrected before approval.
After passing local inspections, your utility company conducts its own review and installs a bidirectional meter that measures both electricity you draw from the grid and excess power your system sends back. This process, known as net metering, allows you to receive credit for surplus energy your panels produce during peak sunlight hours. Some utilities require separate final inspections or Witness Test Acceptance procedures, adding additional steps to the approval timeline.
Once your utility grants permission to operate, your system officially goes live. Your installer should walk you through system operation, explain monitoring features, and provide contact information for ongoing support. Many modern systems include smartphone apps that display real-time energy production, consumption patterns, and system health alerts. Take time to familiarize yourself with these monitoring tools, as they help you maximize your solar investment and identify any performance issues promptly.
Financial Considerations and Available Incentives
Understanding the financial aspects of solar installation helps you make informed decisions and maximize your return on investment. The federal solar tax credit, currently set at 30% through the Inflation Reduction Act of 2022, allows you to deduct 30% of your total system cost from your federal taxes. This credit applies to equipment and installation costs, including panels, inverters, mounting hardware, and related electrical work. The credit remains at 30% through 2032, then decreases to 26% in 2033 and 22% in 2034, making early installation financially advantageous.
Beyond the federal tax credit, many states offer additional incentives including rebates, tax credits, and property tax exemptions for solar installations. Some utilities provide rebate programs that reduce upfront costs, while others offer favorable net metering rates that increase the value of electricity your system produces. Research your specific state and utility incentives through the Database of State Incentives for Renewables and Efficiency (DSIRE) to understand available programs in your area.
Financing options significantly impact your solar investment economics. Cash purchases typically provide the best long-term returns, while solar loans offer low-interest financing that often results in positive cash flow from day one when your monthly loan payment is less than your previous electricity bill. Leases and power purchase agreements (PPAs) minimize upfront costs but provide less long-term value and may complicate home sales. Carefully compare financing options with your installer and financial advisor to determine the best approach for your situation.
Common Mistakes to Avoid During Solar Installation
Homeowners frequently make several critical errors that compromise their solar installation experience and financial returns. One common mistake involves choosing the lowest bidder without thoroughly evaluating company credentials, warranty terms, and installation quality. The cheapest option often results in substandard equipment, poor workmanship, and difficulties obtaining service when problems arise. Research company reputations through online reviews, industry certifications, and references from previous customers.
Another frequent error involves inadequate attention to roof condition before installation. Solar panels typically last 25-30 years, so installing them on an aging roof requires costly removal and reinstallation when roof replacement becomes necessary. Have your roof inspected before committing to solar, and factor potential replacement timing into your decision. If your roof needs replacement within the next few years, complete that work before installing solar panels.
Failing to understand your utility’s net metering policies creates unpleasant surprises after installation. Some utilities have reduced net metering rates or implemented time-of-use pricing that diminishes the value of solar electricity produced during peak hours. Contact your utility company directly to understand current policies and future changes that could affect your return on investment. Additionally, ensure your installer accurately sized your system based on actual energy consumption rather than inflated estimates that overestimate production and understate your actual needs.
Selecting the Right Solar Installer
Choosing an experienced, reputable installer significantly impacts your system’s performance, longevity, and your overall experience throughout the process. Look for companies with proven track records in your specific area, as regional climate conditions and building codes affect installation practices. Verify that the installer holds proper licensing and insurance, including general liability coverage and workers’ compensation for their crew members.
Industry certifications from organizations such as the North American Board of Certified Energy Practitioners (NABCEP) indicate that the company meets established standards for technical competency and business practices. Certified installers complete rigorous training and continuing education requirements that keep them current with evolving technology and best practices. While certification alone doesn’t guarantee quality service, it provides meaningful validation of a company’s expertise.
Request detailed proposals from at least three installers, comparing not just prices but also equipment brands, warranty terms, estimated production, and projected savings. Reputable companies provide comprehensive proposals that clearly explain all costs, expected performance, and timeline commitments. Be wary of high-pressure sales tactics or proposals that seem significantly cheaper than competitors, as these often indicate hidden costs or inferior equipment.
Frequently Asked Questions
How long does the complete solar installation process take?
From signing your contract to flipping the switch, the solar installation process typically takes 4 to 8 weeks. This timeline includes site assessment (1-2 weeks), permit applications and approval (2-6 weeks), physical installation (1-3 days), and inspection and utility approval (1-4 weeks). Weather, permit backlog, and utility processing times can extend this timeline in some areas.
Will solar panels work during cloudy days or winter months?
Solar panels still produce electricity on cloudy days, though at reduced output typically ranging from 10-25% of their peak capacity. Winter months reduce production due to shorter days and lower sun angles, but snow reflection can actually increase panel efficiency once it melts. Most grid-tied systems remain connected to the grid, so you draw utility power when solar production is insufficient, ensuring consistent electricity availability year-round.
What happens to my solar system during a power outage?
Standard grid-tied solar systems automatically shut down during power outages as a safety precaution to protect utility workers repairing lines. This prevents solar-generated electricity from flowing onto potentially damaged grid infrastructure. If backup power during outages is important, consider adding battery storage to your system, which allows you to maintain electricity access regardless of grid status.
Do solar panels require much maintenance?
Solar panels require minimal ongoing maintenance. Occasional cleaning removes dust, pollen, or debris that accumulates on panel surfaces, though rainfall typically handles this naturally. Annual inspections verify that mounting hardware remains secure and electrical connections maintain proper function. Most quality panels degrade at only 0.5-1% per year, maintaining strong performance throughout their 25-30 year lifespan with basic care.
Can I install solar panels myself to save money?
DIY solar installation is generally not recommended for most homeowners. Electrical work requires licensed professionals to ensure code compliance and safety. Improper installation can create fire hazards, void equipment warranties, and complicate home insurance coverage. Additionally, DIY systems may not qualify for certain incentives or may face utility interconnection barriers. Professional installation typically costs 10-15% of total system cost but provides significant value through expertise, warranties, and regulatory compliance.
Conclusion
The solar installation process represents a well-defined journey from initial consideration to clean energy production, with each phase designed to ensure safe, efficient, and lasting results. By understanding what to expect at each stage—from site assessment and permitting through installation, inspection, and activation—you position yourself for a successful solar transition that delivers decades of financial and environmental benefits. The key to a positive experience lies in selecting qualified professionals, understanding available incentives, and maintaining realistic expectations about performance and timeline. With proper planning and execution, your solar installation transforms your home into a more sustainable, economically smart property that generates clean power for years to come.